Skip to Content
O p a l E a r t H
Shop
About
Contact
Journal
0
0
O p a l E a r t H
Shop
About
Contact
Journal
0
0
Shop
About
Contact
Journal
IMG_2925.jpg
Photo 1-3-22, 08 43 52.jpg
Photo 23-2-22, 17 00 11.jpg
Shop ‘Aqua Halo’ Opal Pendant

‘Aqua Halo’ Opal Pendant

A$6,900.00

Set with a generously proportioned 10 x 13mm pure, crystal quality Opal, and showcased in a timeless and elegant 9K yellow gold design.

Many stunning Opal gems do not show their true array of colour-value within their photographs. This sparkling gem is one of them.

In person, to the naked eye, this 100% pure & natural, flawless Australian gem truly glows. Only one.


Add To Cart

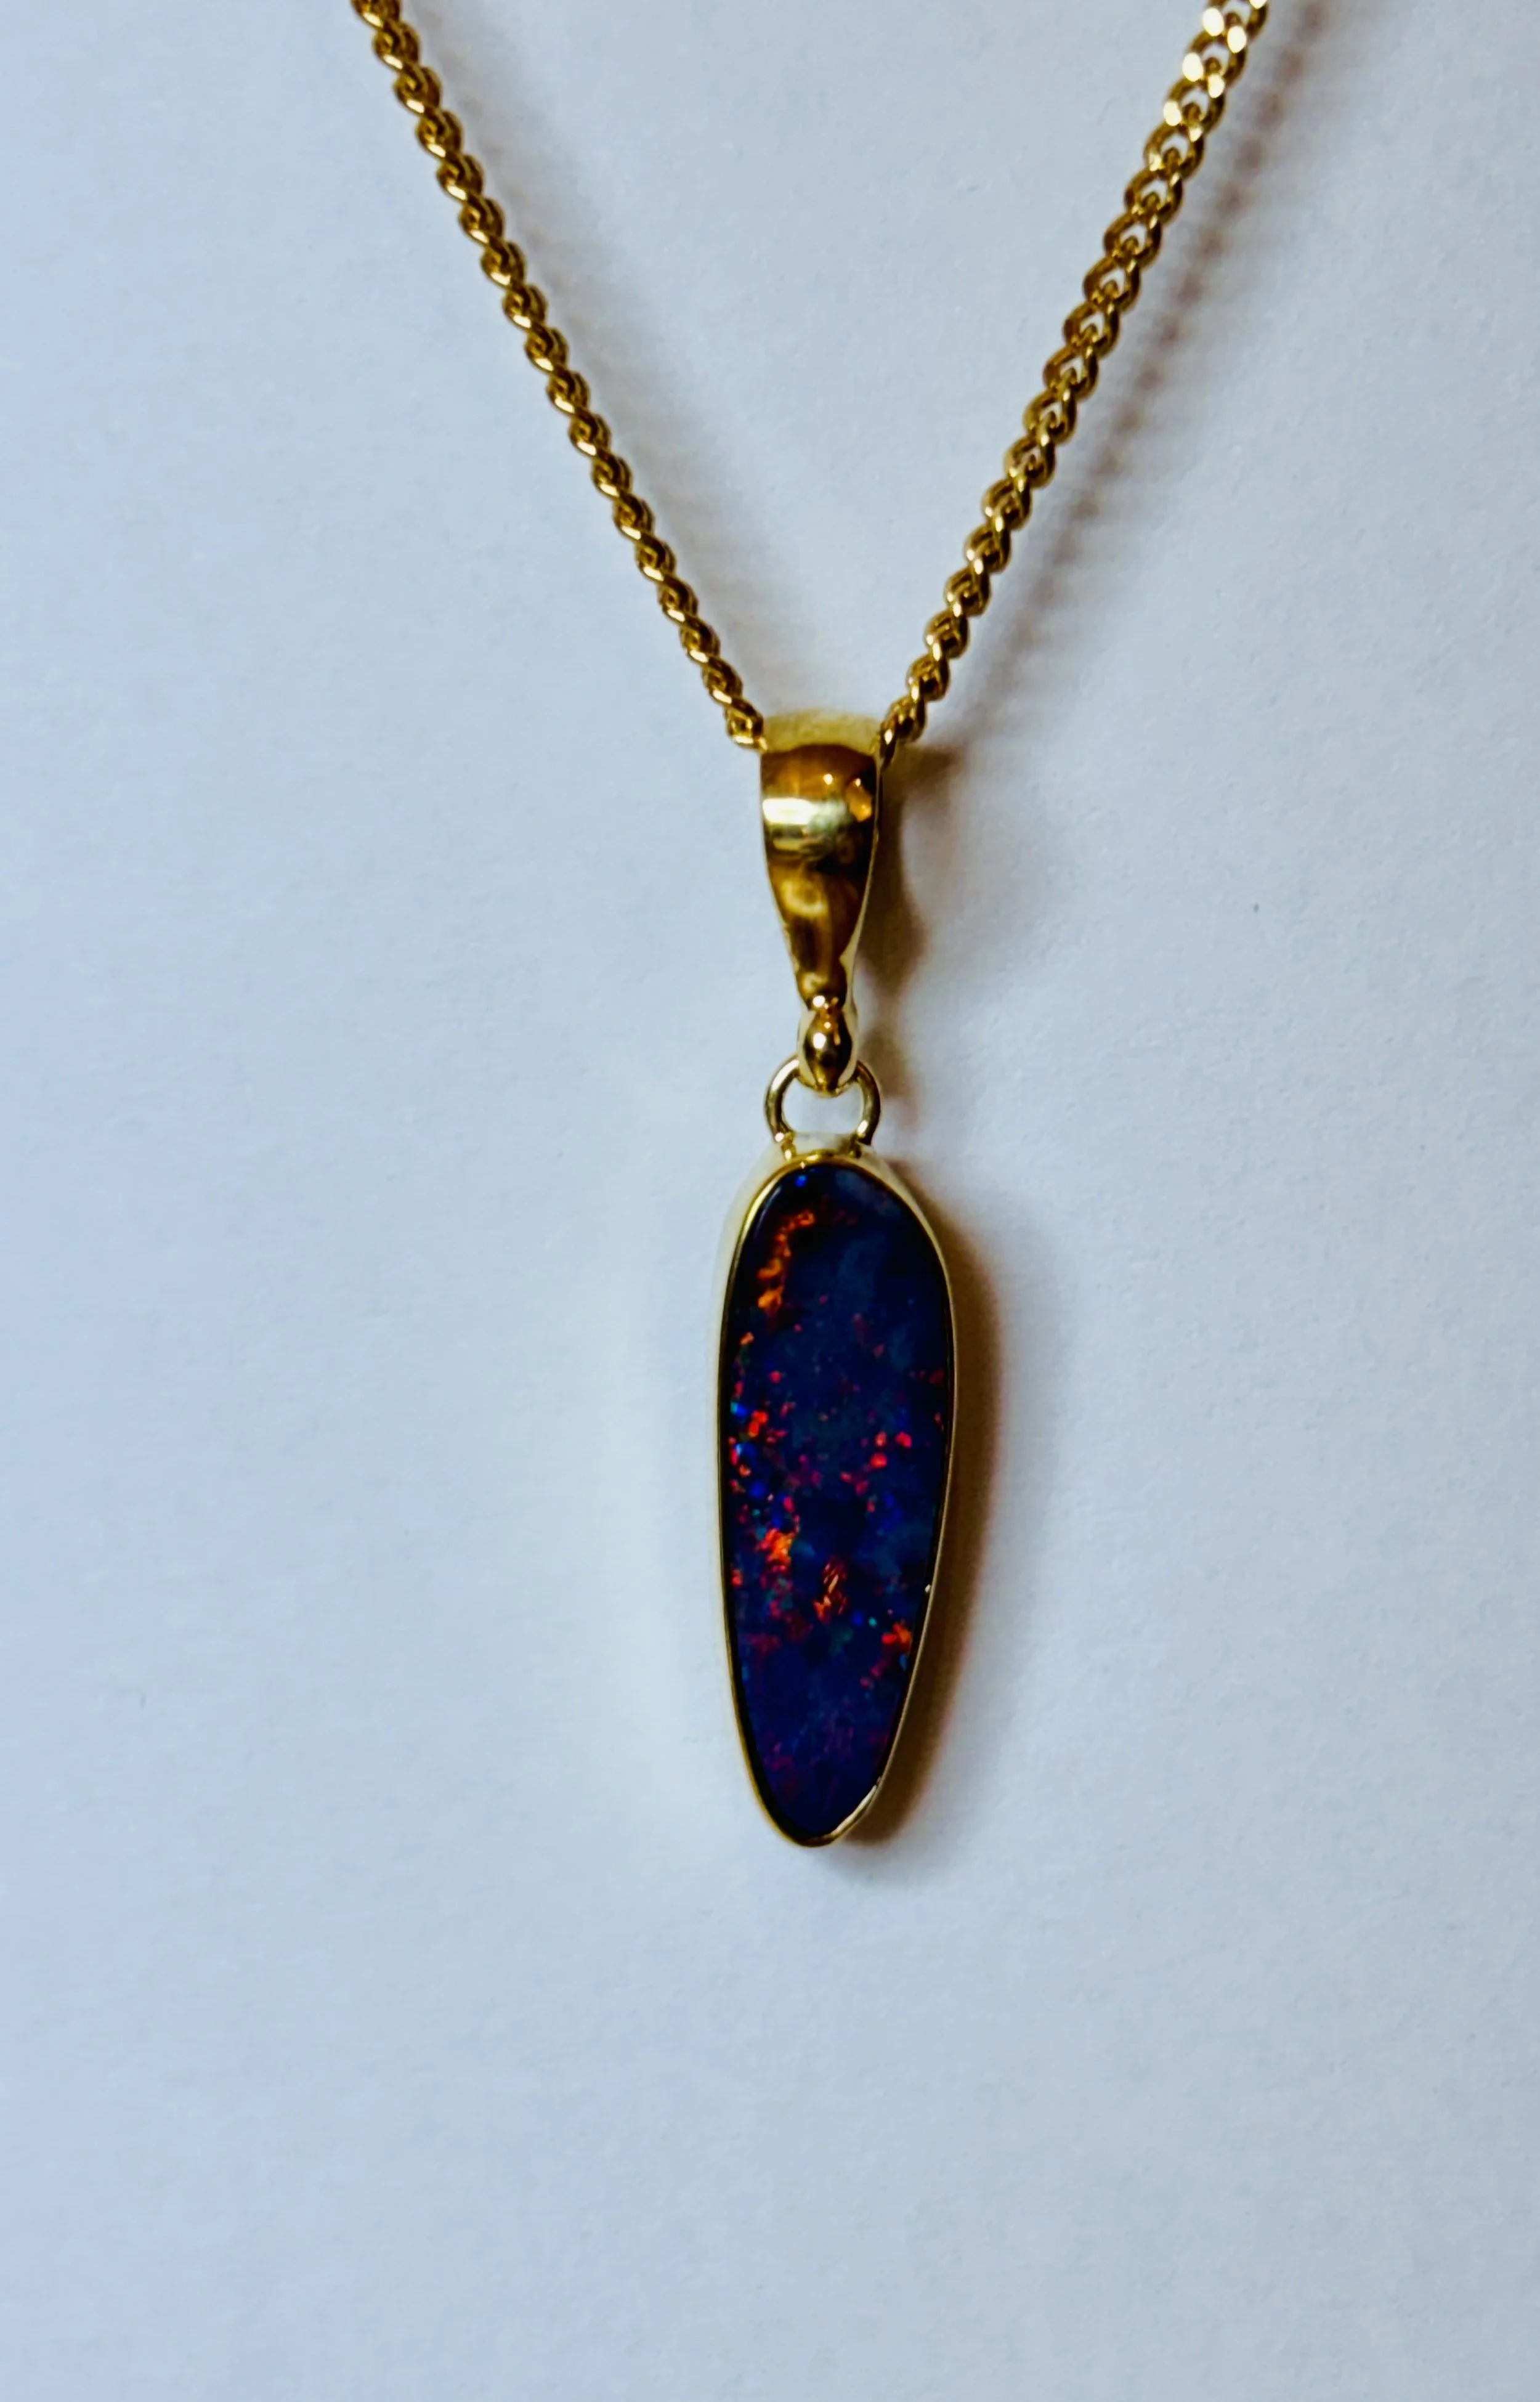
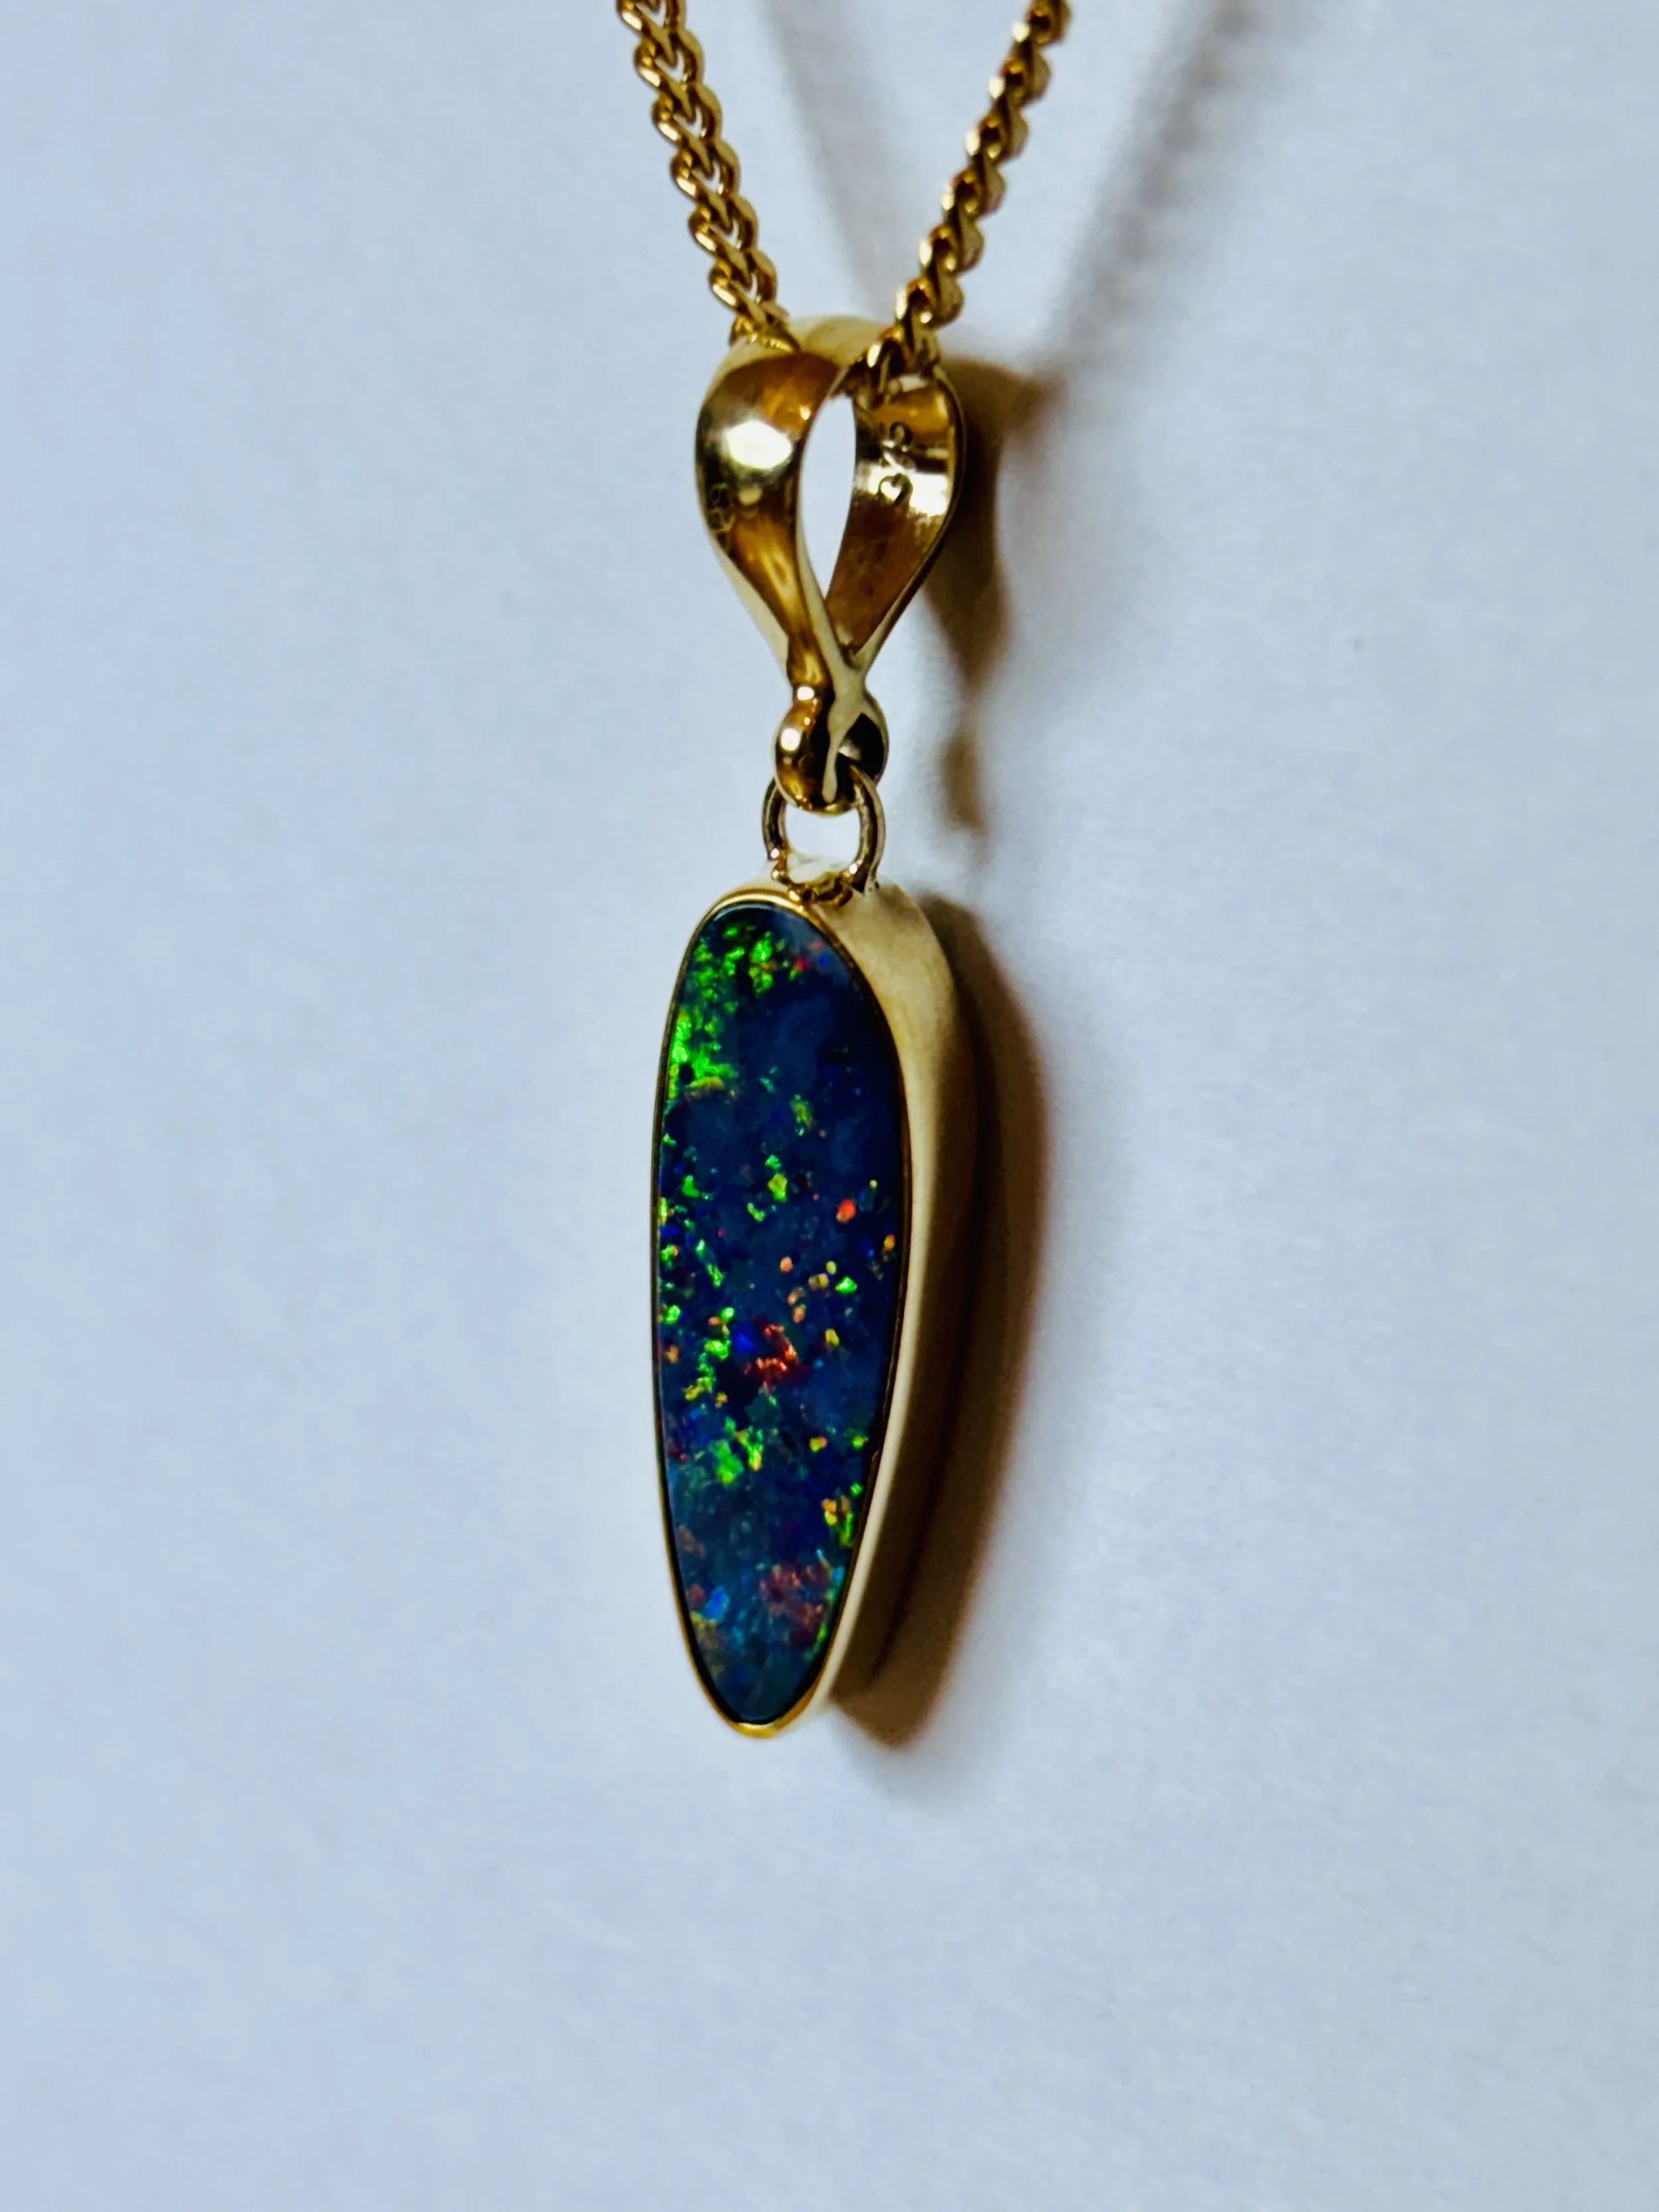
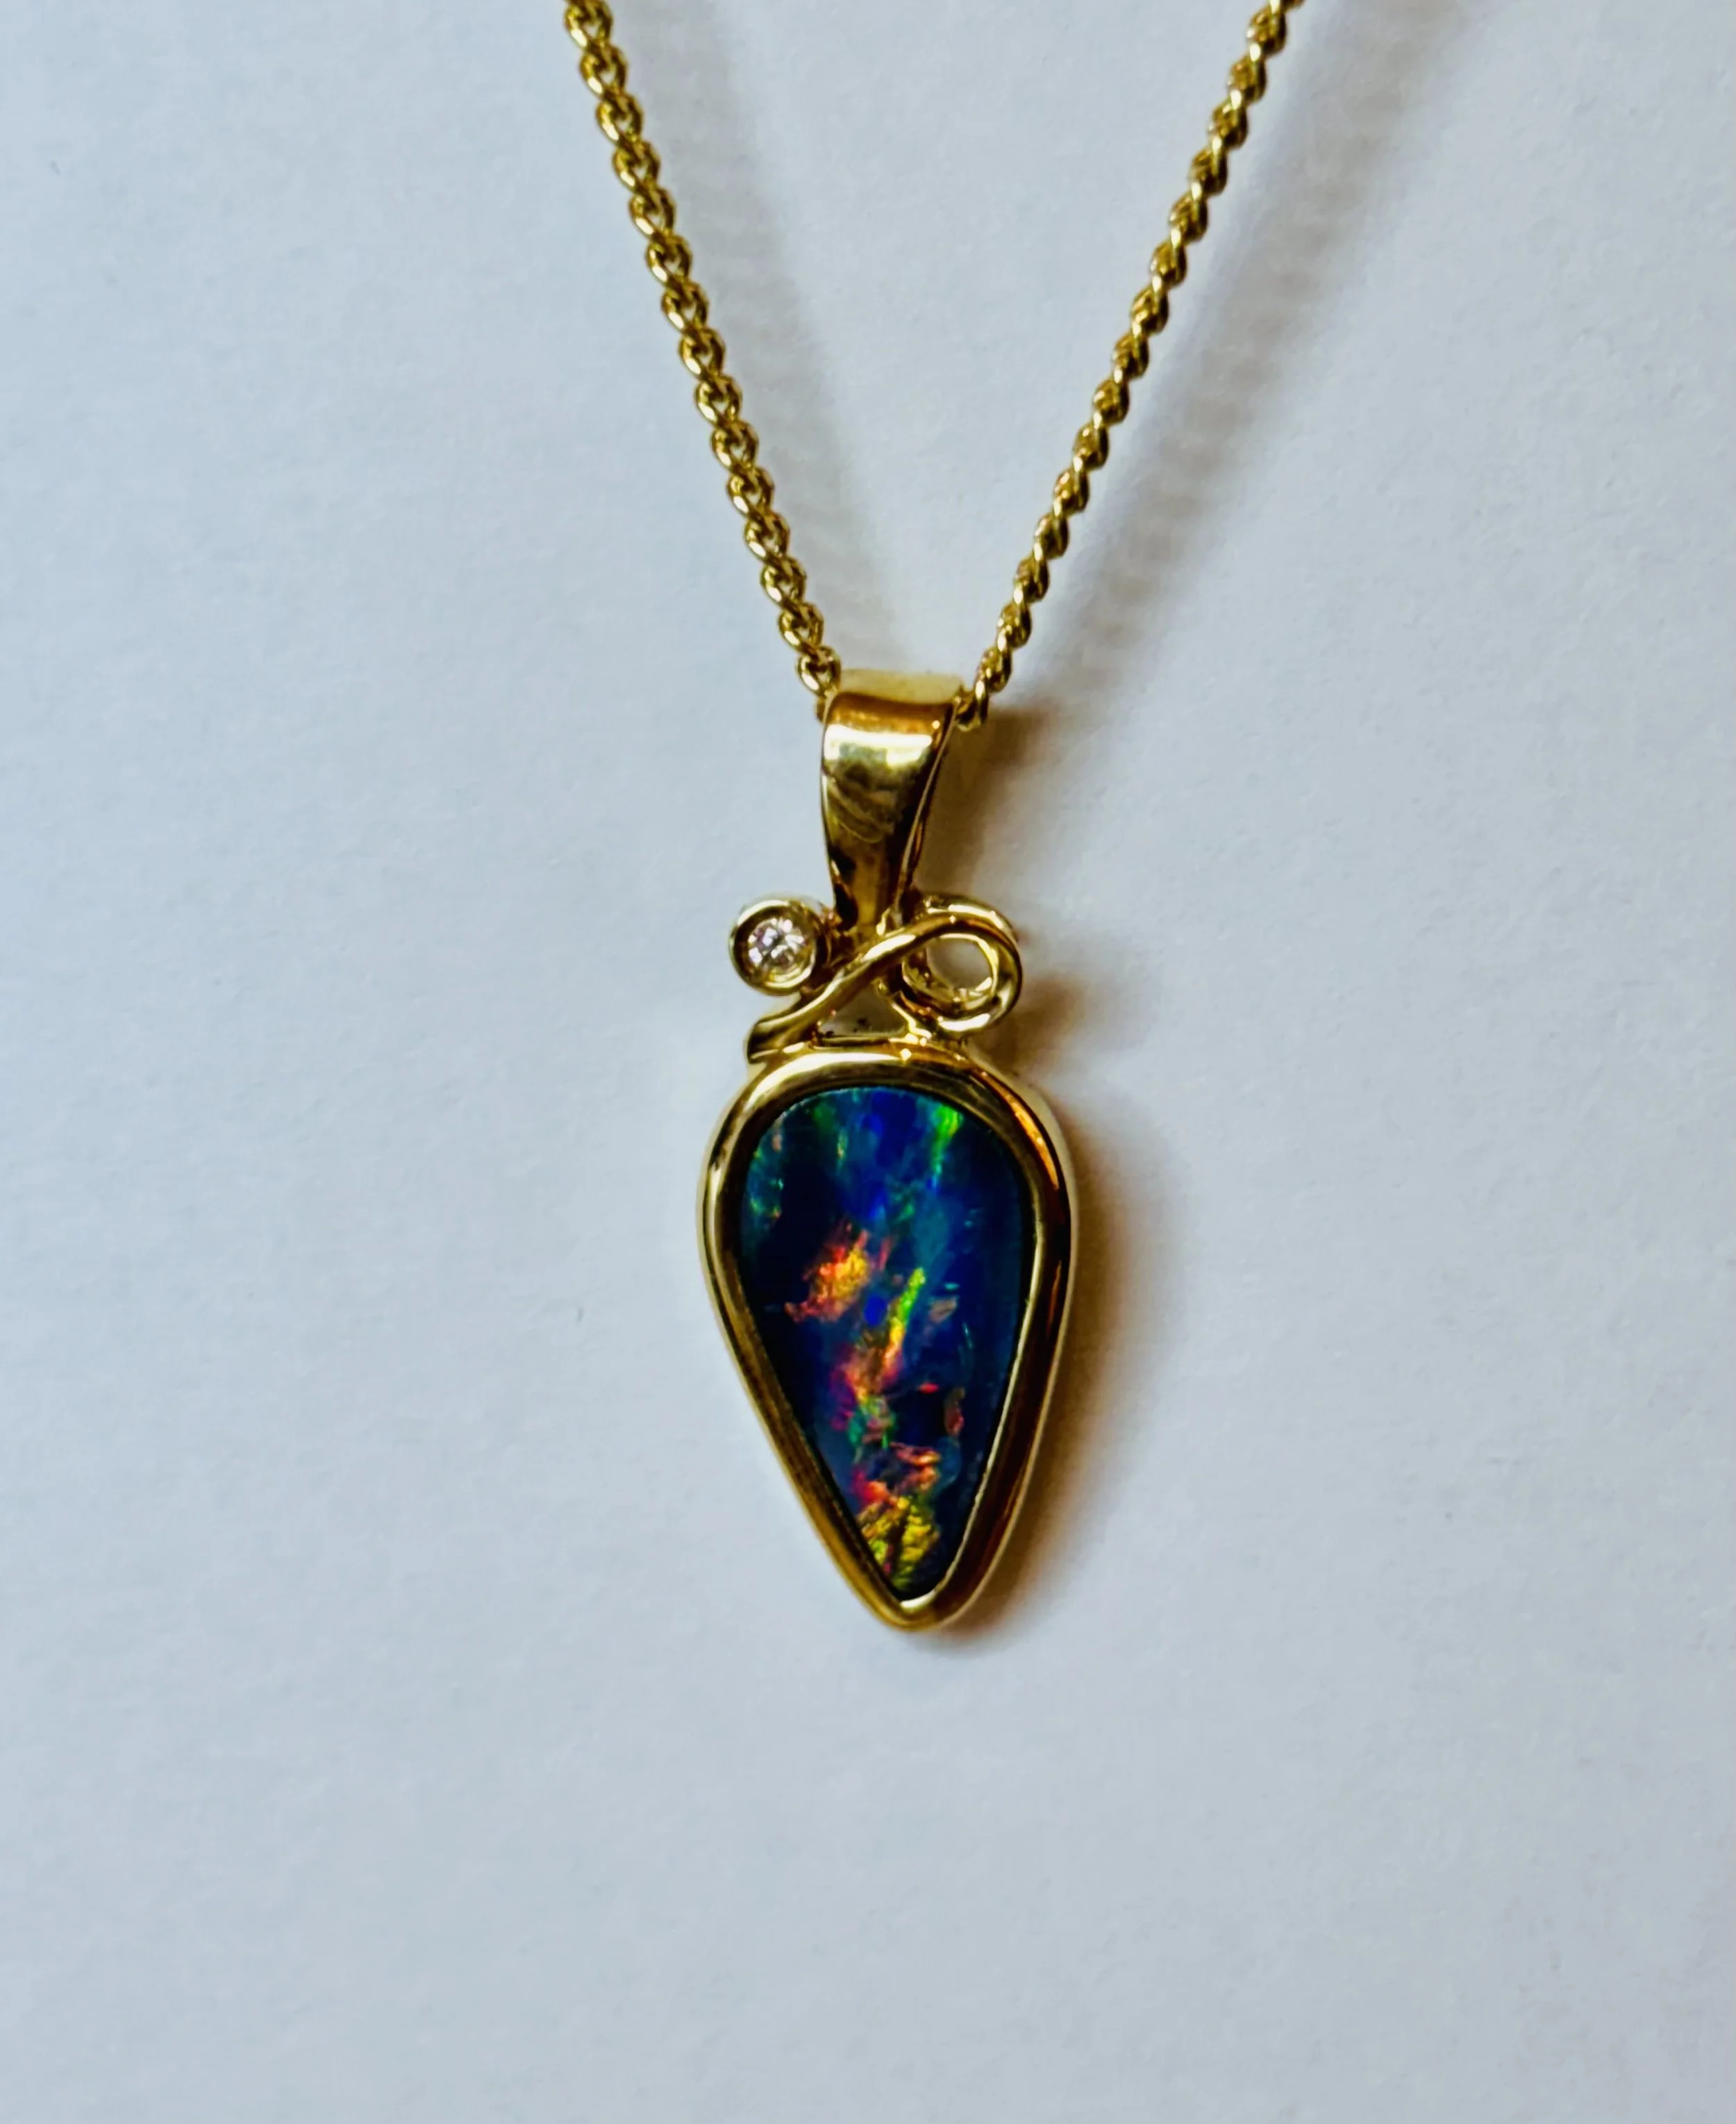
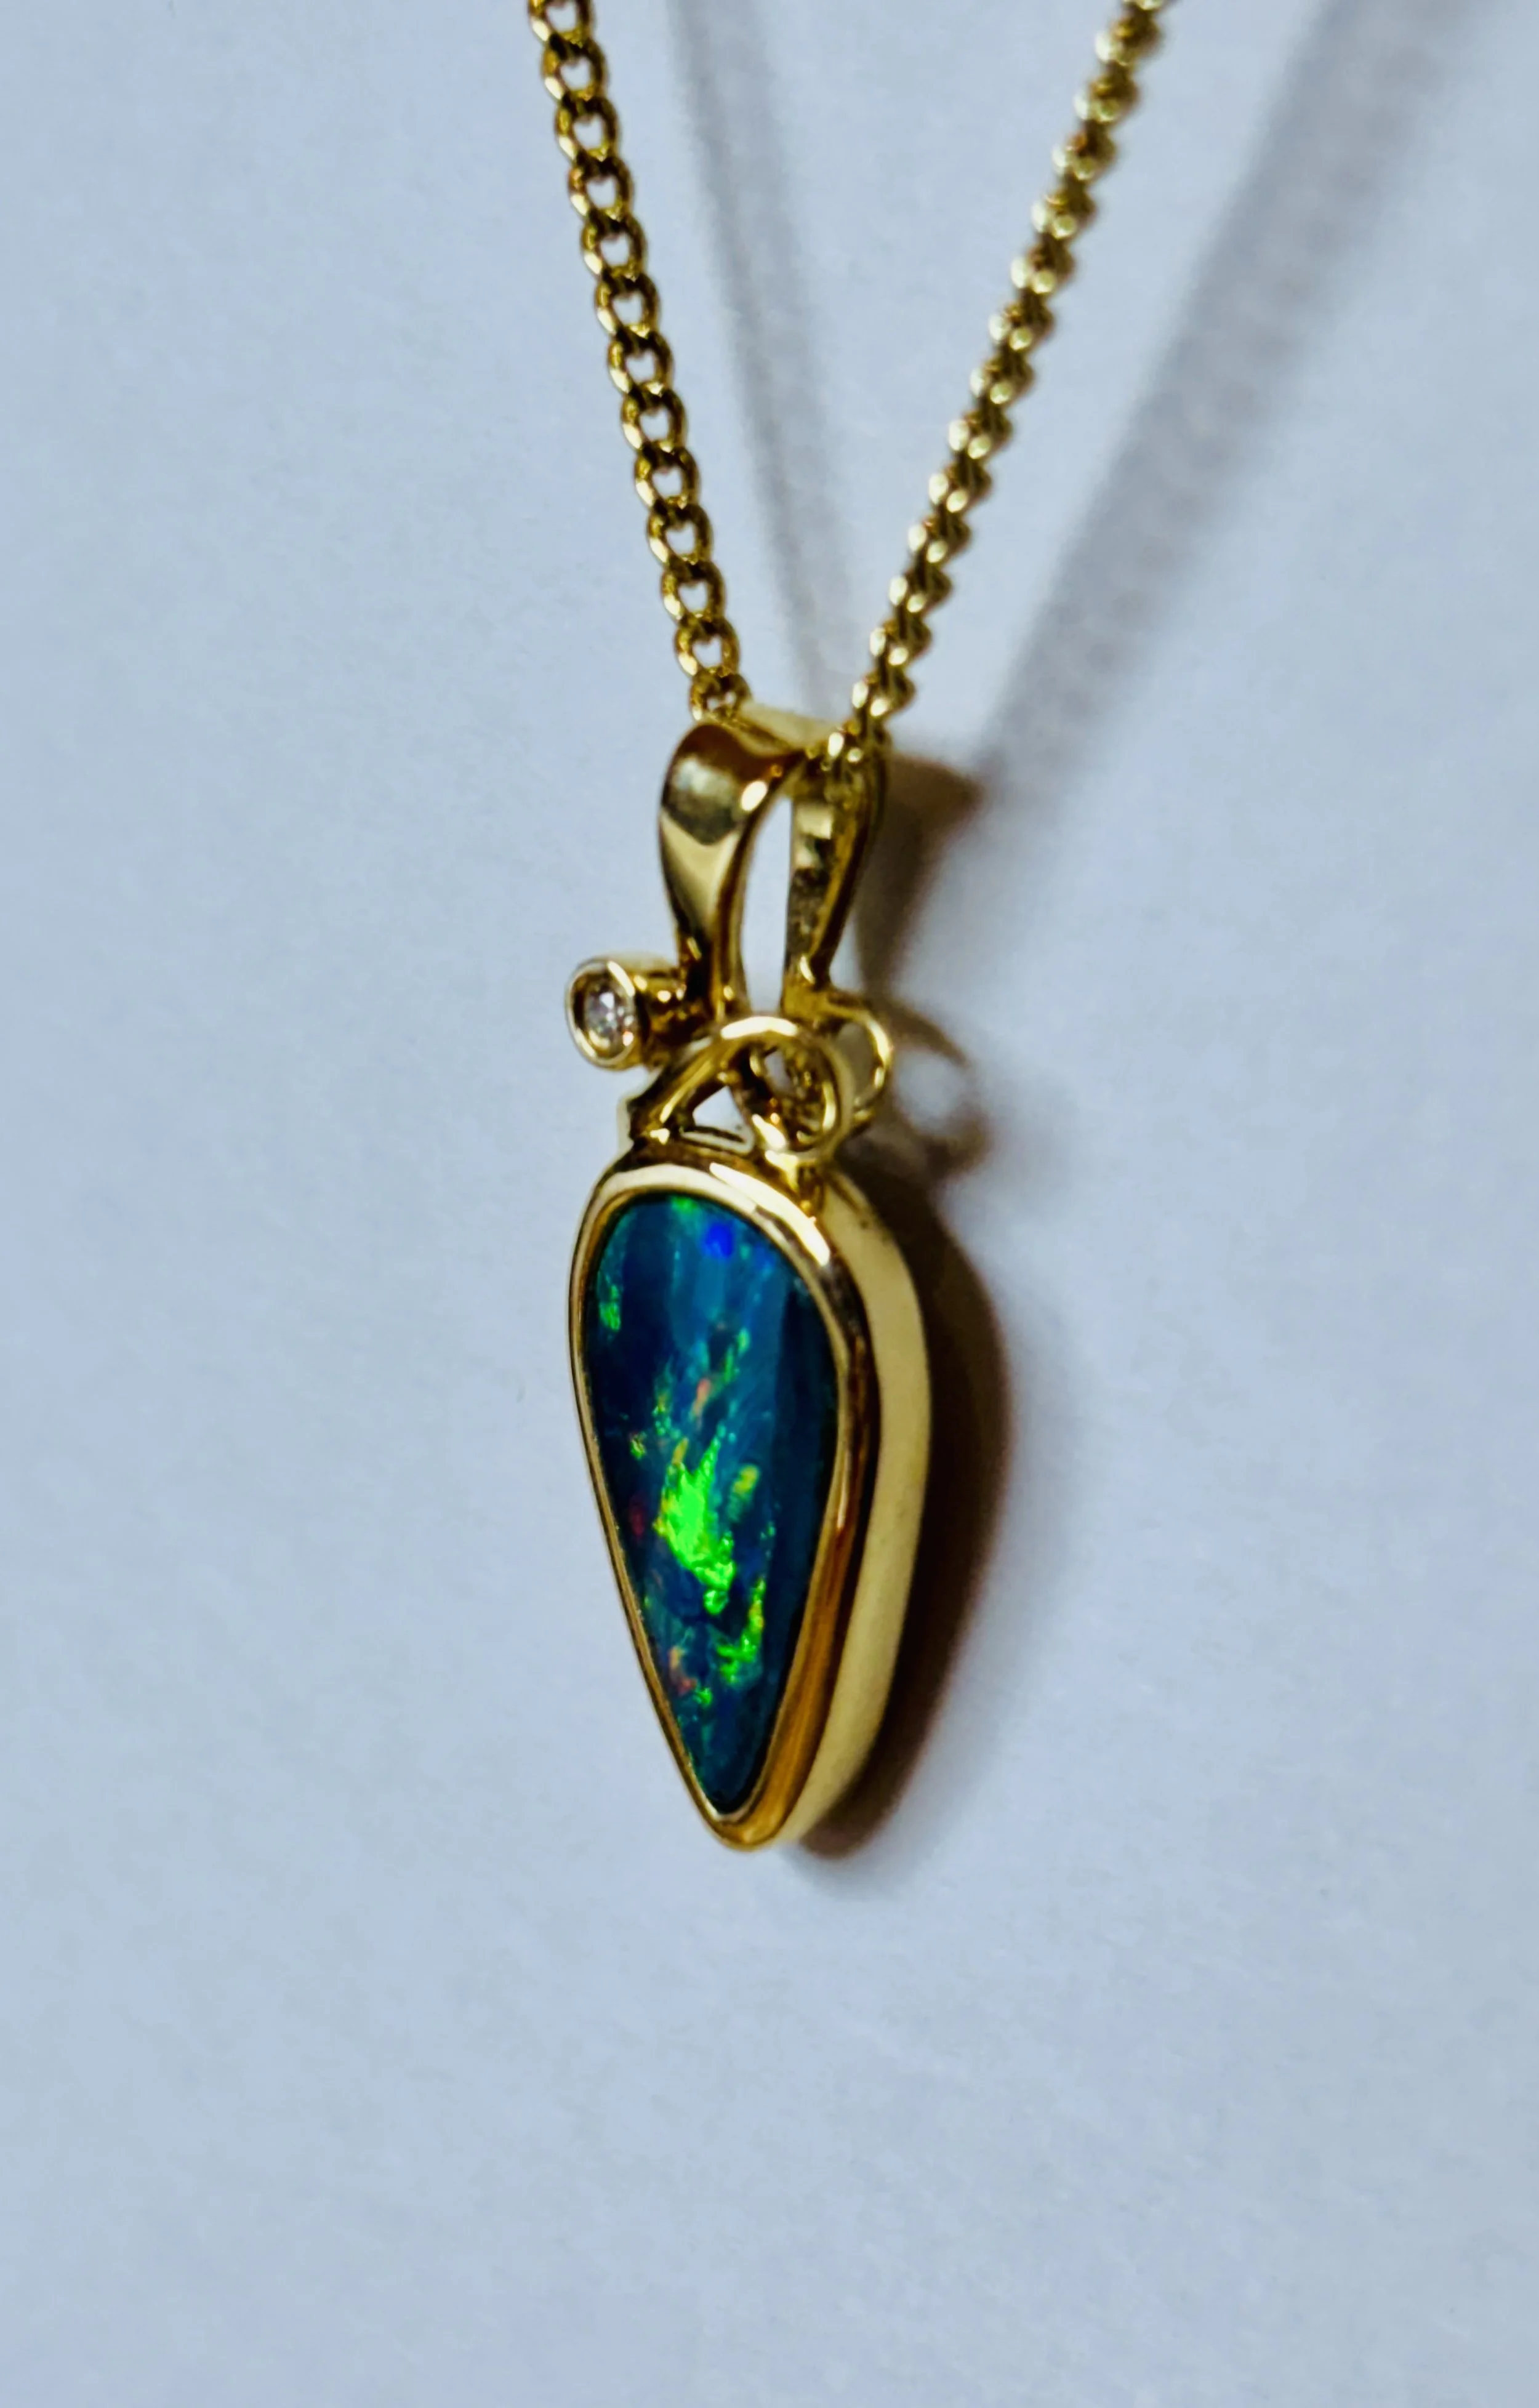
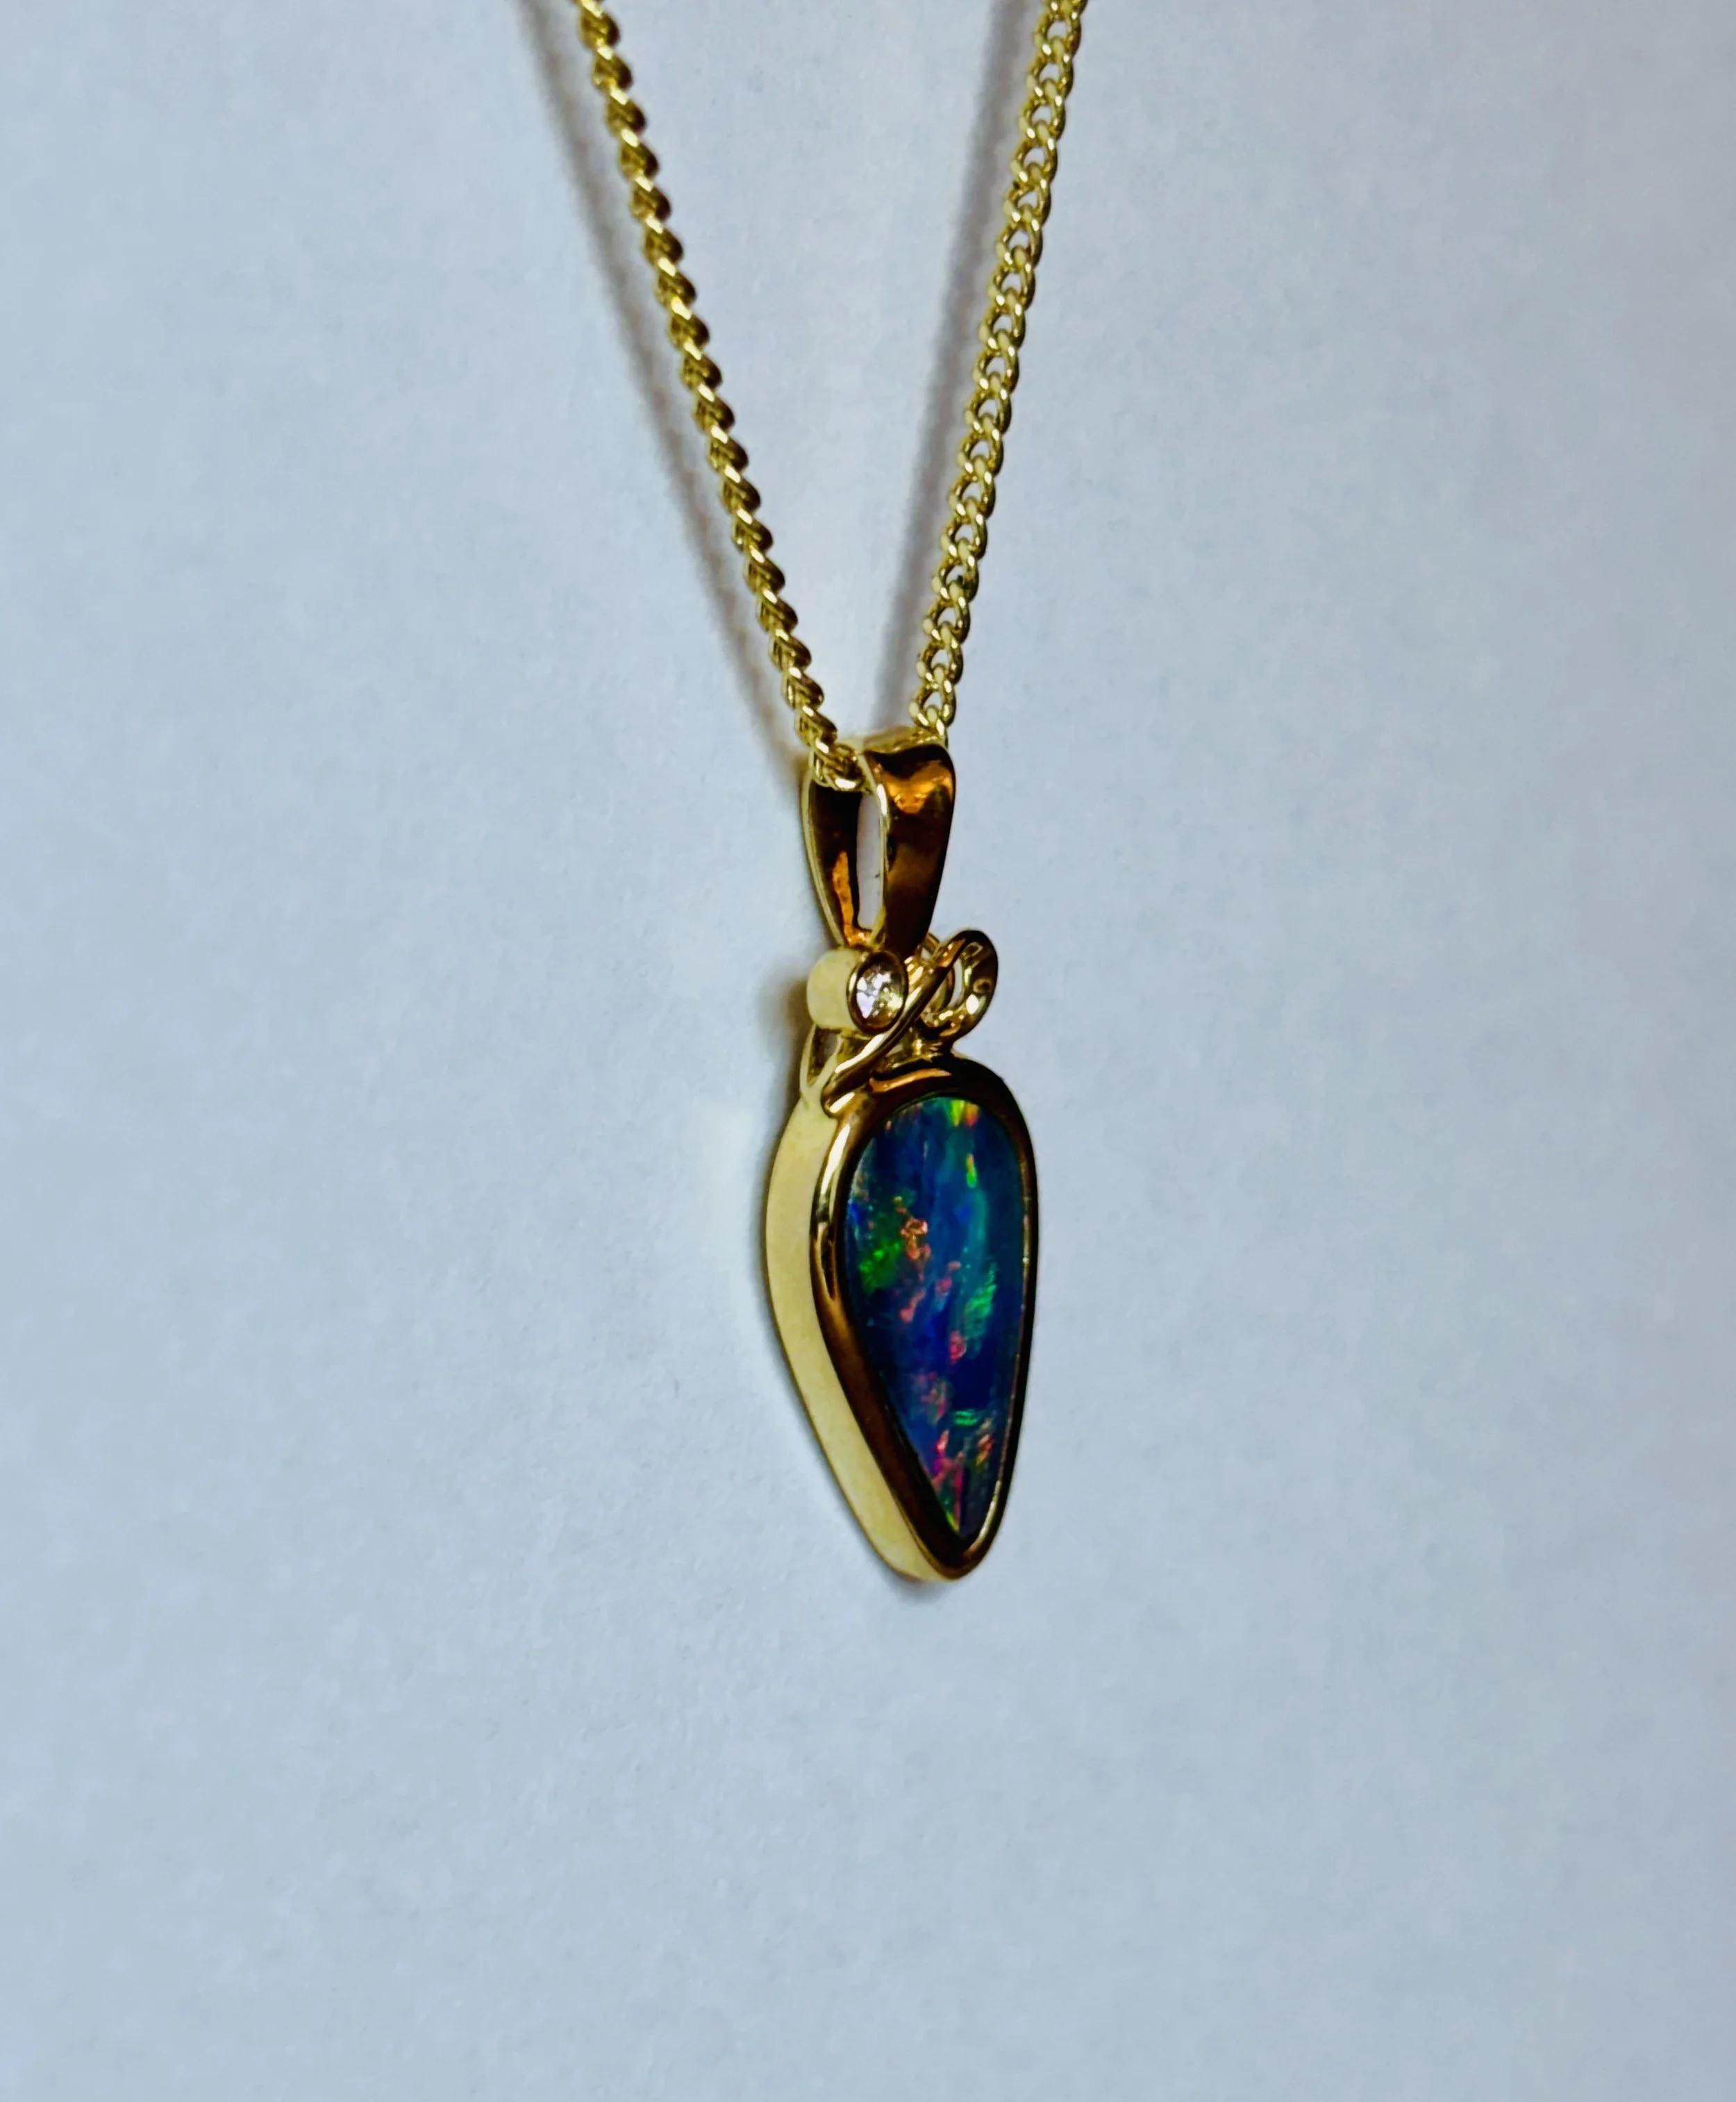
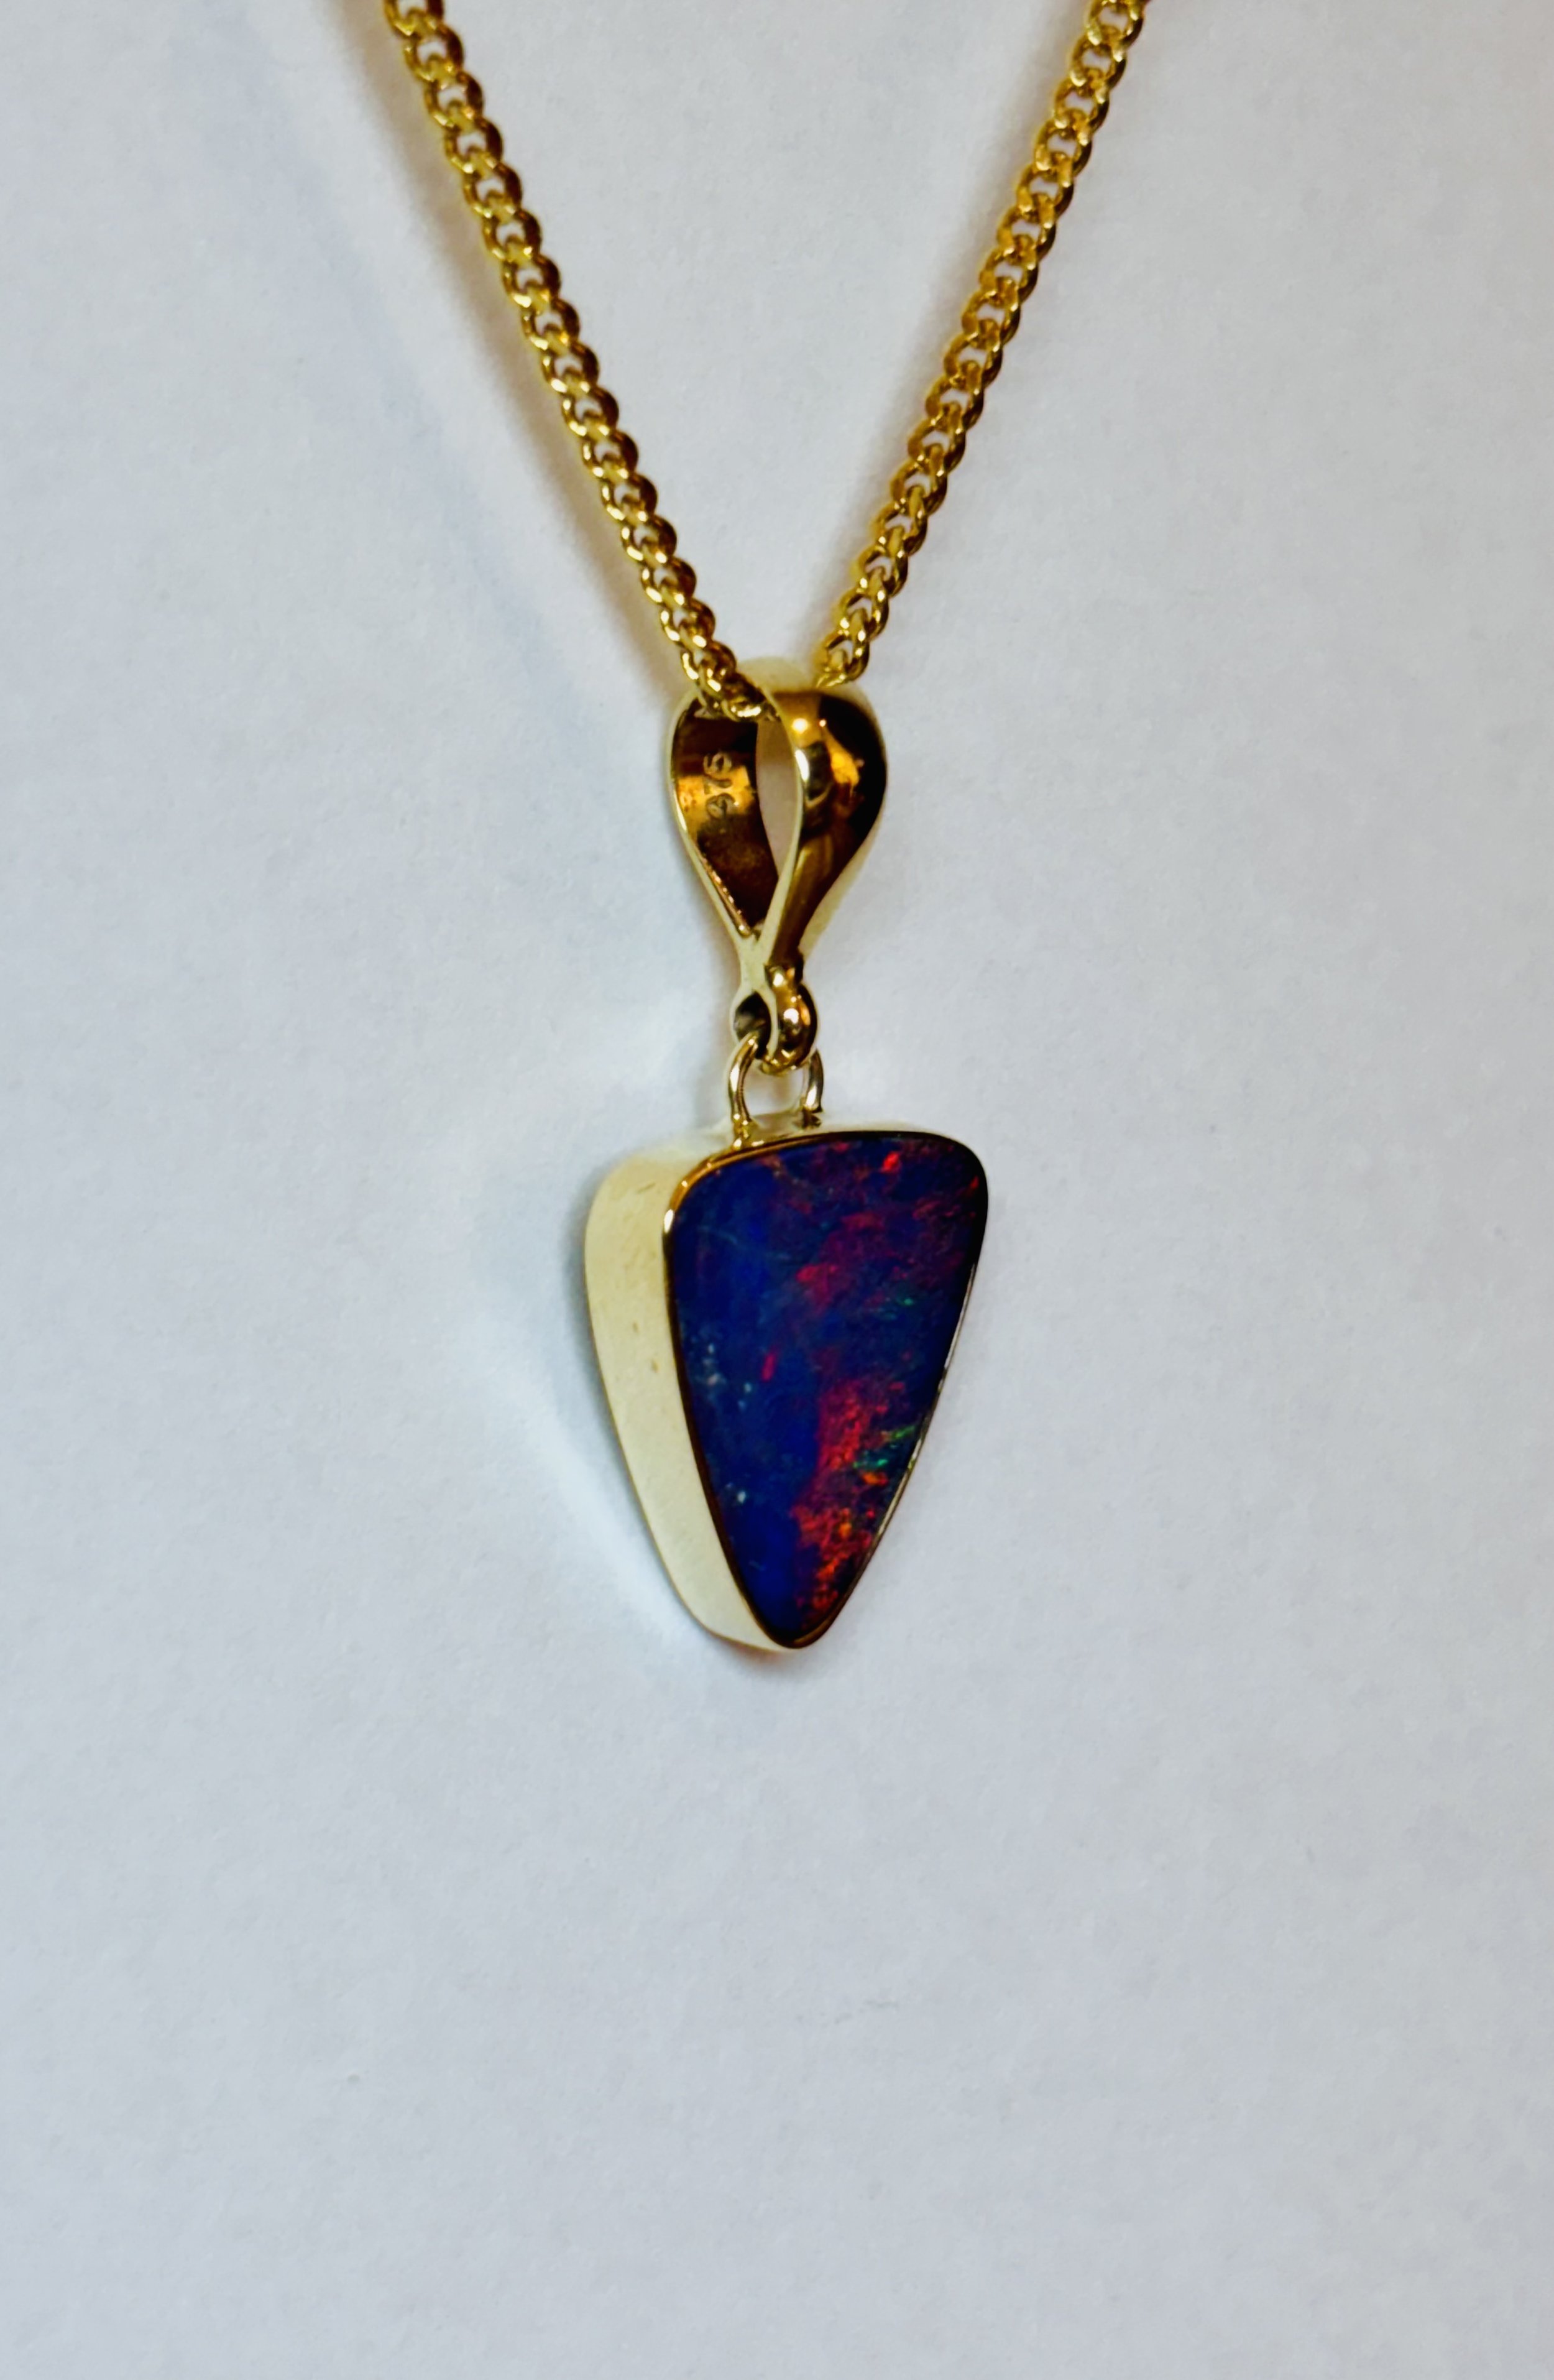
Dear Customer, Please note that our beautiful opals have been photographed in the light. Opal colours will vary according to which lights and angles you hold them in. Also, please enjoy a complimentary, temporary chain as a gift from us. They are gifted at no extra charge so that the items can be modelled straight away. We recommend the separate purchase of a secure, solid gold/silver chain- and do not recommend the prolonged wear of the gift display chain.

You Might Also Like

"Ancient Ocean" Opal Amulet IMG_6532.jpeg
"Ancient Ocean" Opal Amulet
A$2,800.00
IMG_6546.jpeg IMG_6546.jpeg IMG_6546.jpeg
Vibrant Opal Pendant
A$630.00
"Ocean Deep" Opal Gold Diamond Pendant IMG_6268.jpeg IMG_6264.jpeg
"Ocean Deep" Opal Gold Diamond Pendant
A$3,250.00
IMG_6243.jpeg IMG_6243.jpeg
"Lush Evergreen" Opal Diamond Gold Pendant
A$4,900.00
"Twilight Eternity" Opal Diamond Gold Pendant IMG_6253.jpeg
"Twilight Eternity" Opal Diamond Gold Pendant
A$5,750.00

O p a l E a r t H


Shop
About
Contact Us

FAQs 
Custom Jewellery
Sizing

Terms & Conditions and Return Policy

Instagram

Facebook
Journal